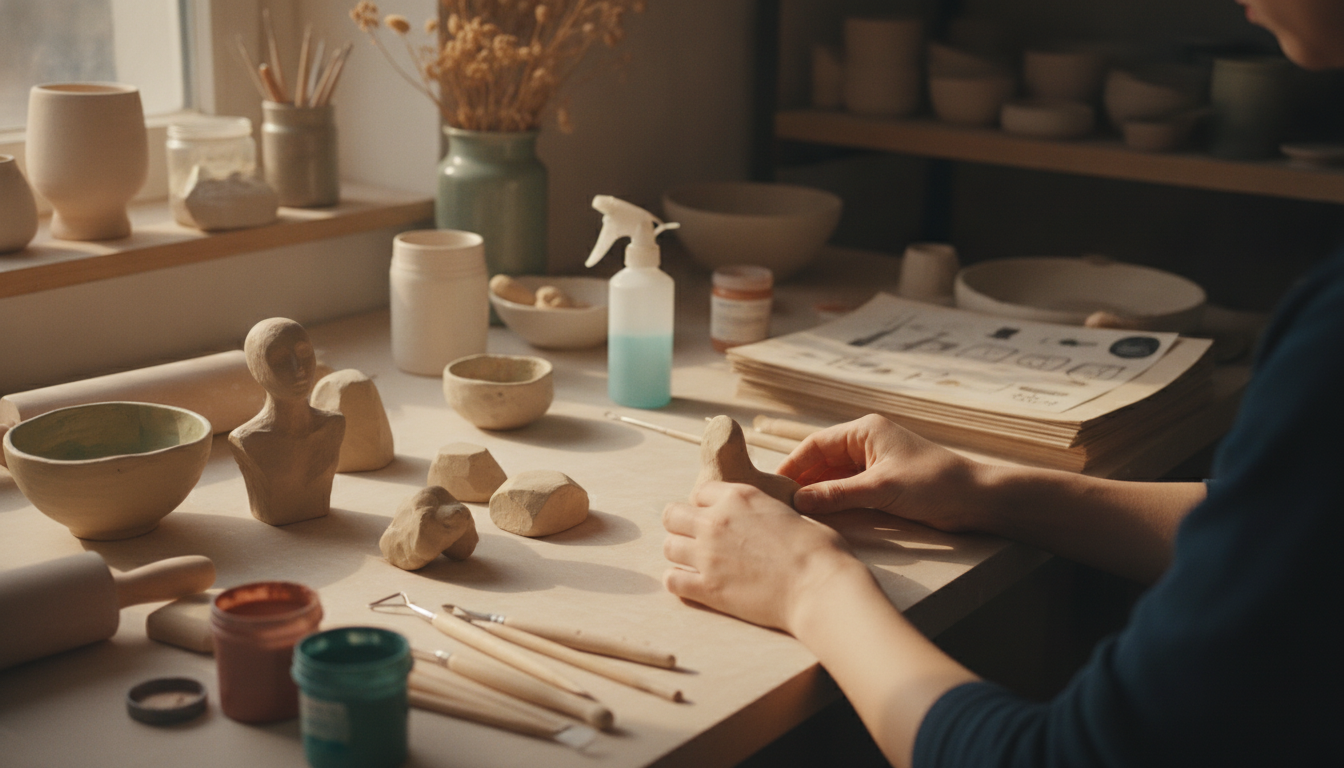
Clay sculpting can feel intimidating until the first few shapes come together. With a small set of tools, a few simple techniques, and projects designed for quick wins, beginners can build confidence fast—then level up with cleaner edges, smoother surfaces, and sturdier forms.
Start with materials that match your space and goals. A beginner-friendly clay plus a handful of basic tools can take you from “lumpy blob” to “cute mini sculpture” surprisingly quickly.
| Clay type | Best for | Cures by | Beginner notes |
|---|---|---|---|
| Air-dry clay | Quick projects, home decor, practice | Air (hours to days) | Seal after drying; prone to cracking if too thick or dried too fast |
| Polymer clay | Miniatures, charms, detailed pieces | Oven baking | Condition well; avoid overheating; great color control |
| Natural clay (earthenware/stoneware) | Traditional sculpting, ceramics | Kiln firing | Best with studio access; dries fast—keep covered |
Most beginner frustrations come from dry clay, weak joins, or skipping straight to tiny details. These fundamentals keep forms stable and surfaces clean.
For polymer clay baking basics and temperature accuracy tips, follow the manufacturer guidance and use an oven thermometer when possible. The Sculpey instructions are a clear reference: Sculpey: Polymer Clay Baking Instructions.
These projects are designed to teach one main skill each—so every finish feels like progress, not guesswork.
| Project | Time (active) | Difficulty | Common mistake to avoid |
|---|---|---|---|
| Pinch bowl | 10–20 min | Easy | Walls too thick/thin—pinch gradually for even thickness |
| Mini mushrooms | 20–40 min | Easy | Weak join—blend cap to stem and add a base for stability |
| Simple animal | 30–60 min | Easy–Medium | Rushed details—finish big shapes before adding eyes/texture |
| Leaf dish | 20–40 min | Easy | Warping—dry slowly and flip during drying |
| Beads/charms | 20–45 min | Easy | Misshapen holes—pierce straight and rotate tool gently |
For extra material context and inspiration, museum collections can be a helpful way to study surface finishes and forms: The Metropolitan Museum of Art: Ceramics. If you prefer guided classroom-style demos, the Smithsonian’s K–12 resources also include helpful clay education content: Smithsonian American Art Museum: Working with Clay.
Air-dry clay is usually the simplest because it cures on its own and doesn’t require an oven or kiln. Polymer clay is also beginner-friendly for small, durable minis, but it needs careful baking and is best finished after it cools; air-dry pieces typically benefit from sealing.
Score both surfaces, add slip/water (for air-dry or natural clay) or blend thoroughly (for polymer), then press firmly and smooth the seam. For tiny parts like ears or stems, increase the contact area and add a toothpick/wire support when needed.
Dry slowly and evenly by loosely covering pieces at first, and avoid thick solid forms by building with consistent thickness or hollowing larger shapes. If hairline cracks appear, patch them early with a clay-and-water paste and smooth with a damp brush.












Leave a comment