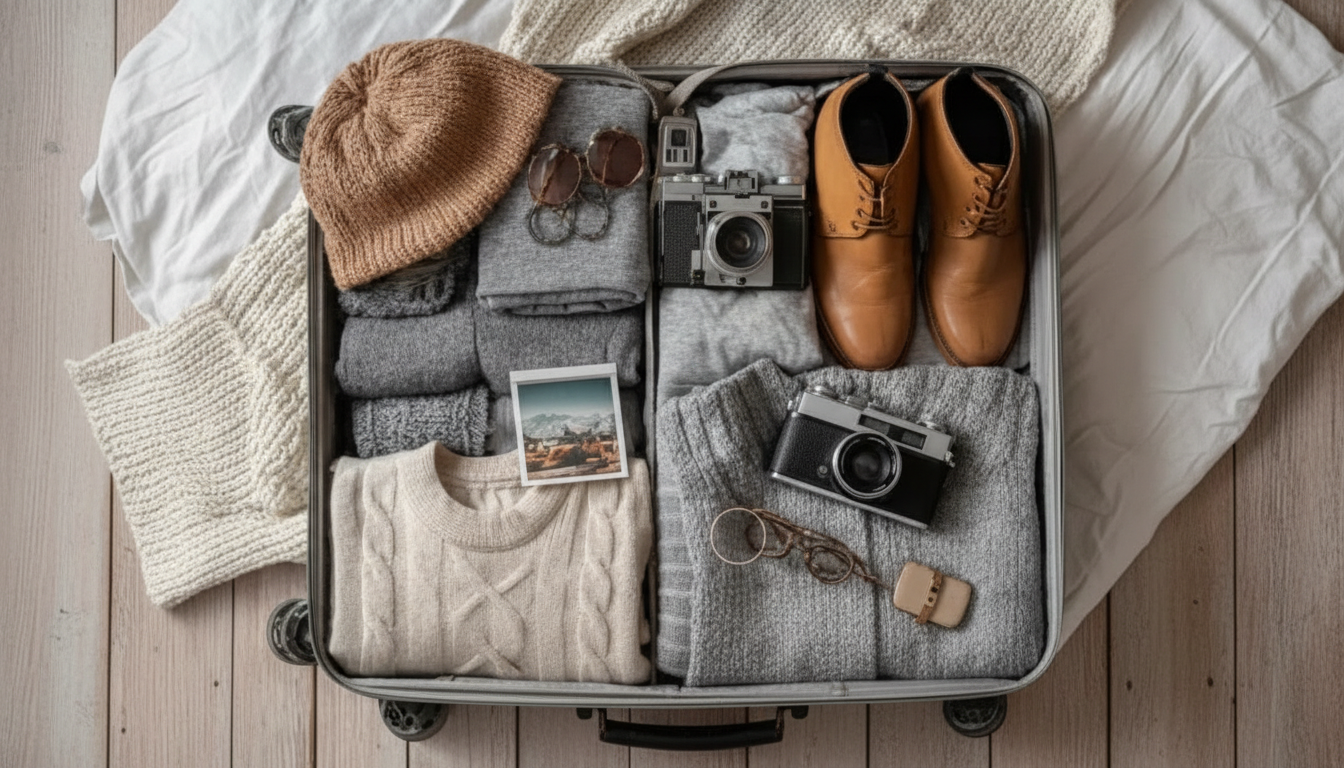
A streamlined packing system for toiletries reduces last-minute stress, prevents leaks, and keeps daily essentials consistent across weekend trips and longer travel. The goal isn’t to pack “more”—it’s to pack the right items, in the right containers, with a workflow you can repeat. The From Shelf to Suitcase Packing System – Essential Toiletries Packing Guide Bundle is built around clear categories, a shelf-to-bag staging routine, and checklists that work whether you’re flying carry-on only or checking a bag.
If packing toiletries feels like a scavenger hunt across cabinets, drawers, and shower ledges, a shelf-to-suitcase workflow turns that chaos into a predictable sequence.
Instead of relying on memory, the system leans on categories and a reset routine—so your kit becomes “ready by default,” not assembled in a rush.
Pick a dedicated packing surface—countertop tray, small bin, or a drawer—so items move through the same path every time. This reduces the classic error of grabbing items from five places and still forgetting the one you need.
Sort toiletries by function first (cleanse, treat, protect, style). Then sort by format (liquid, cream, solid, powder). This makes carry-on liquid decisions faster because you immediately see what must go into the liquids bag.
Carry-on only vs. checked bag changes everything: how many liquids you can reasonably bring, whether backups make sense, and how aggressive you need to be with solids. For airport screening requirements, reference the TSA’s guidance on liquids: https://www.tsa.gov/travel/security-screening/liquids-rule.
Do a final sweep for the items that cause the biggest trip disruption when forgotten: contacts, prescriptions, razor heads, mini tools, and chargers. For a broader safety-minded reminder list, the CDC’s pack-smart guidance is a useful cross-check: https://wwwnc.cdc.gov/travel/page/pack-smart.
| Item type | Carry-on approach | Leak prevention |
|---|---|---|
| Liquids (shampoo, toner, micellar water) | Decant to travel containers; limit to essentials | Tape cap threads, use a sealed bag, keep upright |
| Creams/gels (moisturizer, styling gel) | Choose multi-use formulas; keep within size limits | Use screw-top jars; avoid thin flip caps |
| Solids (soap bar, shampoo bar) | Ideal for carry-on space and simplicity | Store in a ventilated case; keep dry between uses |
| Aerosols (deodorant spray, dry shampoo) | Use only when necessary; check airline limits | Use a cap; keep separate from heat sources |
Use a staging zone (tray/bin/drawer) where toiletries move through the same path every trip, grouped by function and then format. Pack in layers to isolate liquids, and do a quick post-trip reset so the kit is always nearly ready.
Carry essentials that are difficult to replace quickly: medications, contacts/solution if needed, basic skincare (cleanser, moisturizer, sunscreen), deodorant, toothbrush/toothpaste, and a small first-aid core. Keep liquids compliant and consolidated so security screening stays simple.
Choose screw-top containers, avoid overfilling, and tape cap threads when needed. Double-bag liquids in a sealed pouch, pack them upright when feasible, and separate liquids from tools and medications so one spill doesn’t contaminate everything.









Leave a comment